
A product design firm and durable goods production and logistics outfit, AARN is the diversified activity of Aaron Panone, self-producing designer and engineer. House brands include: AARN (custom product), AARN EYEWEAR (handmade acetate eyewear design and manufacturing), and AARN TRANSMISSION (bicycle parts design and production).
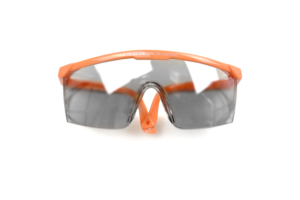
The MTA ‘Conductor’ Safety Eyewear...
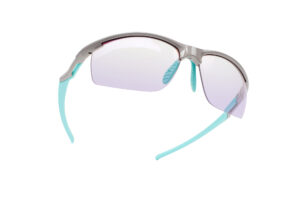
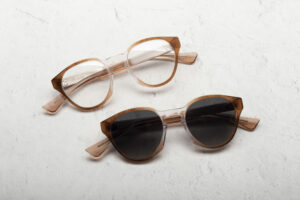
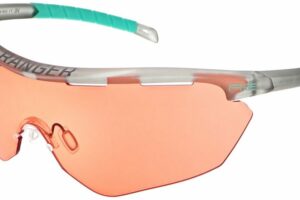
AARN nylaarn engineered sports eyewear
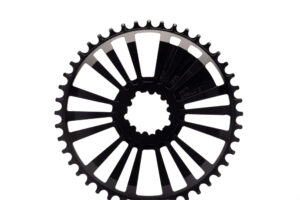
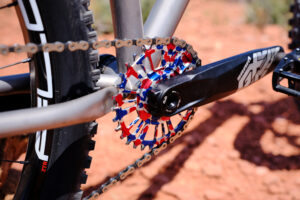
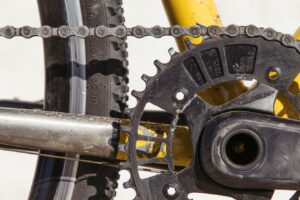
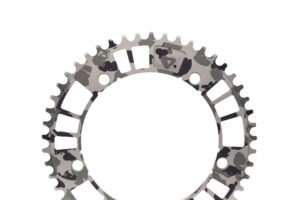
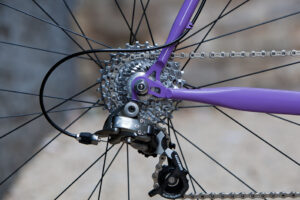
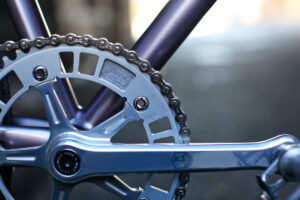
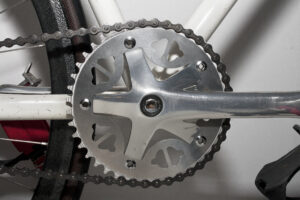
AARN S3#N MTB/XC CHAINRING GENII
Wavebalance Gaming Eyewear with...
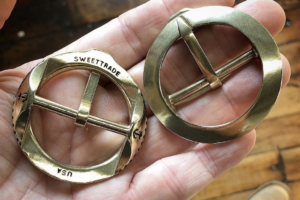
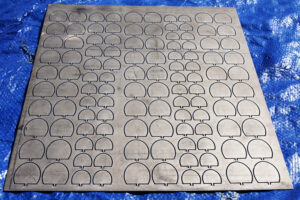
Sweettrade Cast Findings Collection
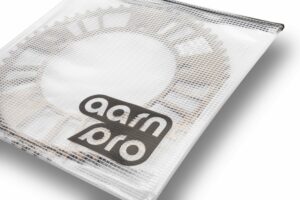
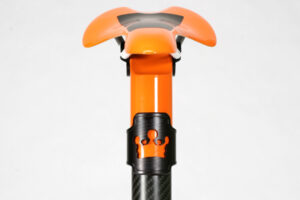
AARN PRO track chainring
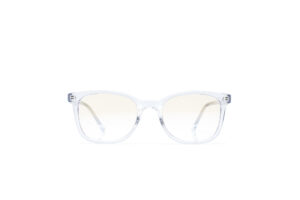
Wavebalance Task Specific Eyewear
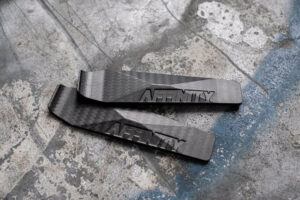
Affinity carbon bicycle tire levers
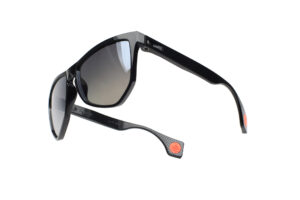
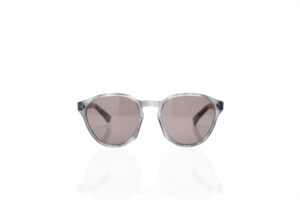
aarn model 5iii

randolph ss2020

randolph ss2019
aarn s3#n mtb/xc chainring
ranger ss2019
ranger fw2018

randolph fw2018
randolph optical 2018
randolph ss2018
aarn 110#n narrow-wide chainring

ranger ss2018

randolph ss2017
aarn eyewear ss2016 eyewear
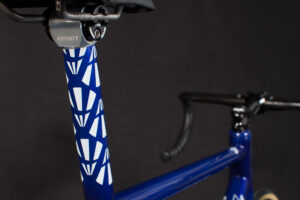
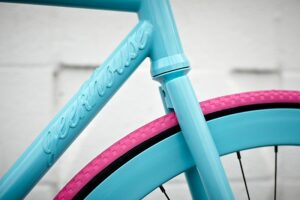
affinity cycles – quill isp

The Simply Co – Laundry detergent
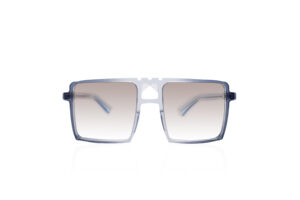
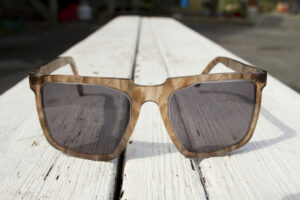
aarn model 10 sunglasses
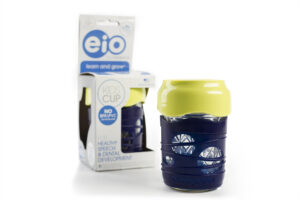
EIO by Cuppow LSR Jar Sleeve
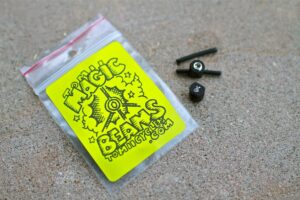
“magic beans” cable hanger...
cast brass button for sweettrade
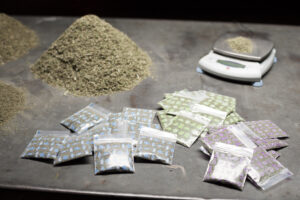
goodnip!

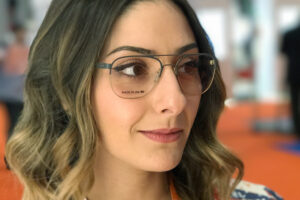
Model 7 eyeglasses with RX
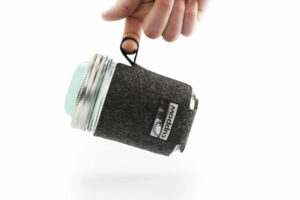
cuppow mason jar coozie
limited edition aarn x#n chainring...
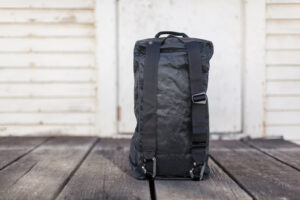
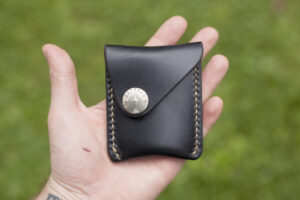
d3 traveller strap hardware for sdr...

e5 48.20 eyeglasses with sun lenses

2013 year in renew for cuppow
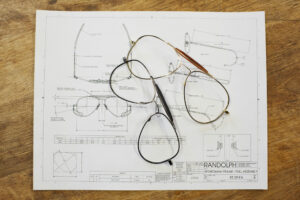
ISO drawing package for Randolph...
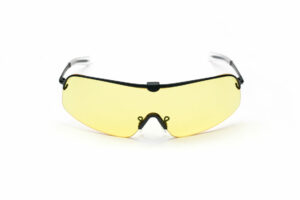
falcon shield shooting frame for...
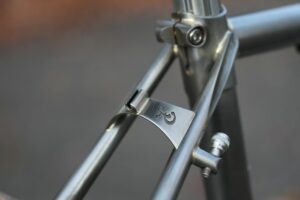
brake bridge for tomii cycles

BNTO by Cuppow

e4 48.20 sunglasses

akimenko meats cookbook v1.0
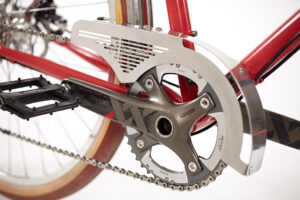
flat pattern chainguard for geekhouse...
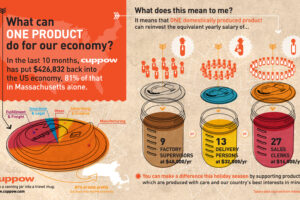
one product infographic for cuppow
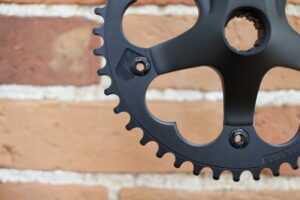
1x 130#44 road chainring for tomii...
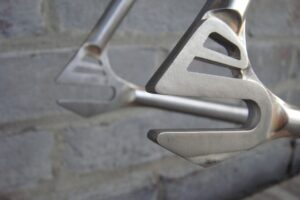
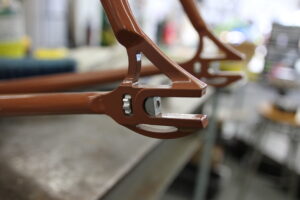
v1 road/cx dropouts for geekhouse bikes

e2 47.18 sunglasses
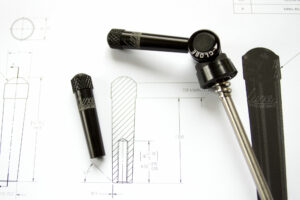
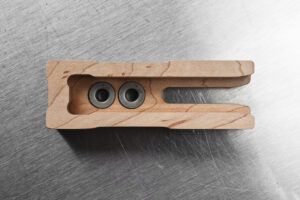
custom skewer replacement lever for...
frame builder: e1 teaser

cuppow regular with straw-tek...
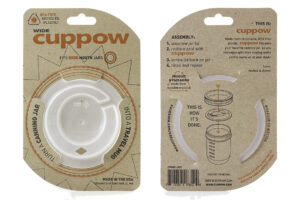
new wide cuppow canning jar drinking lid
cuppow regular with straw-tek canning...
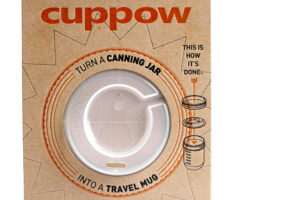
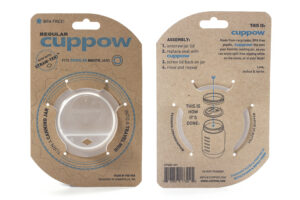
original cuppow canning jar drinking lid

tab desk lamp

seat stay caps for royal h. cycles
oregon manifest utility/cargo bike
144#n track bicycle chainring
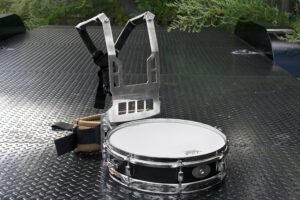
lightweight custom drum harness

numerically controlled poster series...
picture frame doweling jig for PLR
small parts for firefly bicycles
boring 42th chainring v2
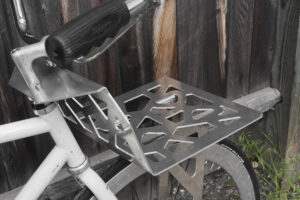
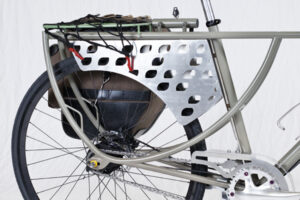
regular pattern cargo rack
custom track dropout for icarus frames
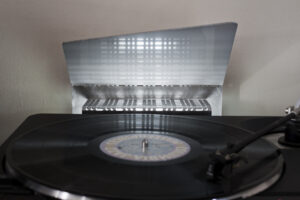
turntable bounce lamp

project: wallpaper – numerically...
aarn at fringe
tiflw seatmast clamp for independent...
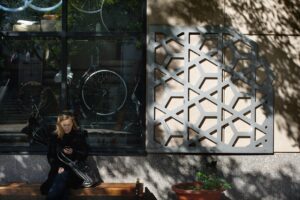
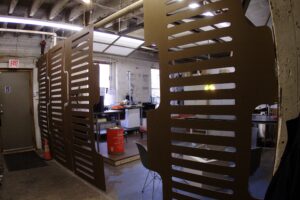
regular pattern wall trellis

project blaster v2.0
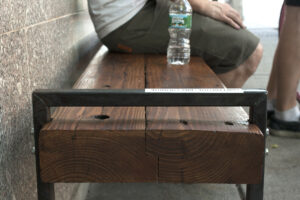
city bench from re-purposed materials...

T0001 “rotafixer” lockring tool

headbadge and logo design for quiros...
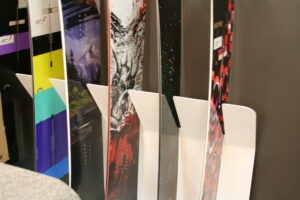
custom snowboard rack for concepts
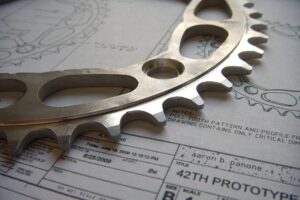
42th prototype track bicycle chainring
misc parts for geekhouse bikes
adjustable track bicycle dropout for...